Blogspot: How to Embed an Amazon Astore in Blogger Blog

Blogger has made it easy for newbies.
I don’t know about you, but I’m not all that techie when it comes to changing code in HTML or CSS blog templates. I could never figure out how to add my Amazon aStore to Blogger blogs. I always had to link to it off site. It looked odd because it didn’t look like it was a part of my blog. But now using Blogger’s new stand alone page gadget, I’ve finally figured it out. Blogger has made it easy for us newbies. We can easily add up to ten stand alone pages to a Blogger blog. Each page will have the same header as the blog. There are still some things you may need to work on to get your blog to look exactly as you want it, but I think you‘ll be happy with your results. This Hub is to share with newbies, like me, how to do this step by step.

Add a “Page” gadget.
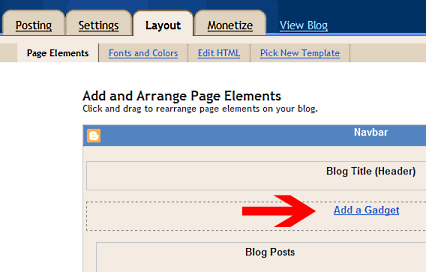
Log in to your Blogger account. Go to the ”Layout” tab and click “page element”. Then click the “add a gadget” link that is between the header and the blog post elements.
Start by adding a "Page" gadget.
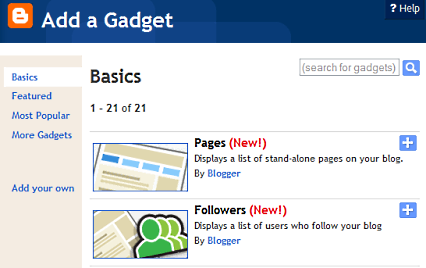
Click “Pages (New!)" to add a stand alone pages gadget to your blog.
Click "Pages (New!)
The “Configuration Page List” box will appear. You can add a title to label your gadget if you want to, but it’s not required.
Click Save on "Configure Page List"
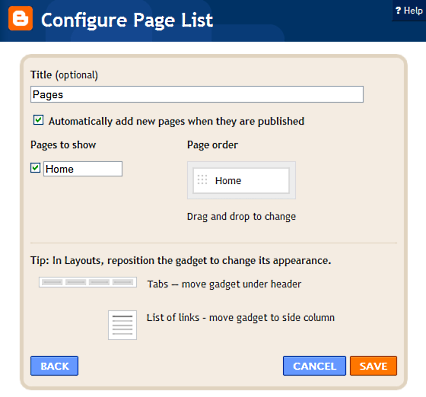
The box that says to automatically add a new page will already be checked. Leave it checked if you want all pages you created to be automatically added to the navigation bar/ list. Also, the “Home” box will already be checked. If everything is like you want it, then click the save button to exit.
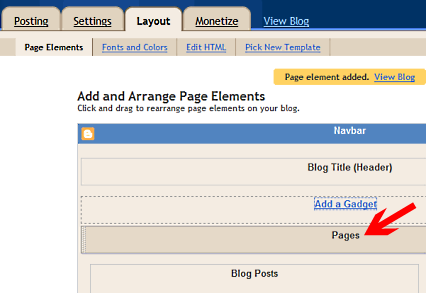
You will see the “Pages” gadget on your Layout/ Page Elements page as shown below.
You should see the "Pages" gadget under the blog header.
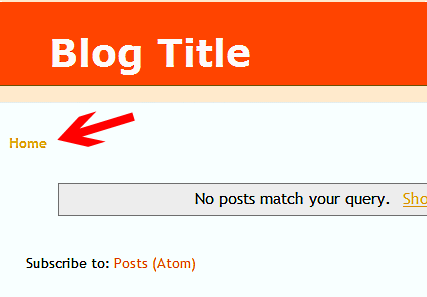
Click “view your blog” to see your Blog page. You will notice a “Home” link in the area under your Blog header.
A link for your "Home" page will be under the blog header.
Create a stand alone page.
Now you need to set up a stand along page for your Amazon aStore. Go back to your blog’s back end and click the “Posting” tab.
This will bring you to the “New Post” element, but you don’t want to post, so click “Edit Pages”. Click the “ok” button when you’re prompted to navigate from the “new post" page. This will bring up the following page.
Click "New Page" under "Posting" and "Edit Pages" tabs.
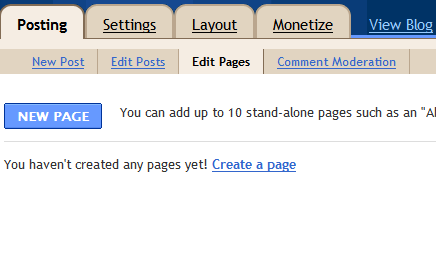
Once there, click the “New Page” blue button. This will bring up an editor(as shown below) for your stand along page’s content.
Type aStore title & paste the code for aStore in the HTML editor.
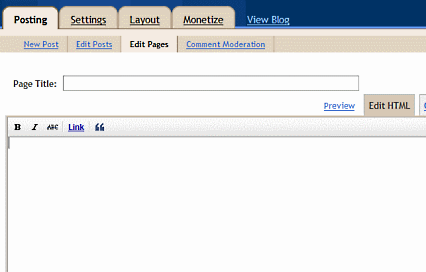
Type in the page title you want for your aStore. You can type in a title like “Shop”. Then click the tab that says “Edit HTML" for the HTML editor to open. This is where you’re going to paste in the code for your Amazon aStore. Sign in to Amazon to get your aStore “inline frame" code. Highlight and copy it. Then go back to Blogger and paste your “inline frame" code into the HTML editor. Click “Publish Page” then click “View Page” to see how your blog looks with your new aStore stand alone page.
Your page was successfully published box will appear.
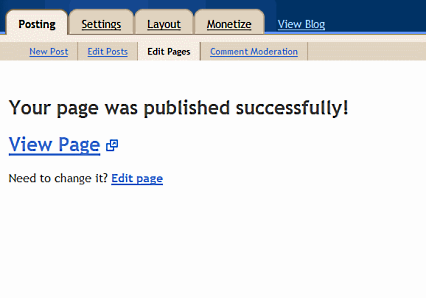
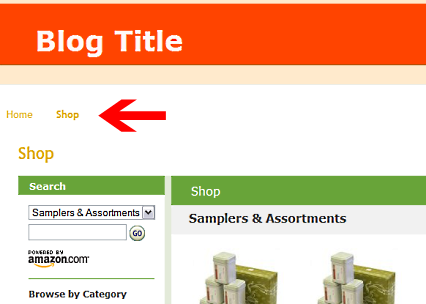
You will now notice that the name you gave your aStore is shown across the top next to “Home” and your aStore is on the page. You can click “Home” to go to the home page of your blog, then click “Shop” again to go back to your aStore. Your aStore is embedded into your Blogger blog!
Your Amazon aStore is embedded in Blogger & the link is in the navigation.
You can change the position of navigation bar if you want to.
If you want your navigation(page) buttons located on the side column instead of across the top under the header, you can move them to the side column. Simply click, hold down and drag the “Pages" gadget to underneath the “add gadget" link on the side column as shown below.
Drag "Pages" gadget to the side column if you want it on the side.

How to fix width problems.
I’ve learned from experience that the aStore height is too long for my page so I trim it down to about 1000 pixels. That’s easy to adjust. However, trying to get the Amazon aStore’s width to fit on Blogger can be a huge headache. Thanks to some smart and really nice fellow Amazon associates, you don’t have to learn a lot of code to get your aStores to fit in Blogger. Many Amazon associates have posted their customized templates to save you time. They have created some narrow or skinny aStore templates and posted them to share with the rest of us. If you want to use a shared template, edit your aStore and click on “Shared” templates. There isn’t a search bar to type in a search term, so you have to browse through the templates and find the ones that say “narrow” or “skinny”. I’ve found some that worked out fine, but I had to tweak them to change the colors to ones I want.
A quicker fix for Amazon aStore width problems.
If you don’t want to bother with the Amazon aStore template at all, the easiest way to get it to fit inside your Blogger blog is to use Blogger’s new Designer Template to adjust the width. You can change the width by a simple adjustment of a slider bar on your screen. Read my article for more information on Blogger’s new Designer Template.
I wish you much success on adding your Amazon aStore to your Blogger blog.

Join HubPages now and start making money 24/7 like me.The Internet & HubPages NEVER sleeps.